Overview
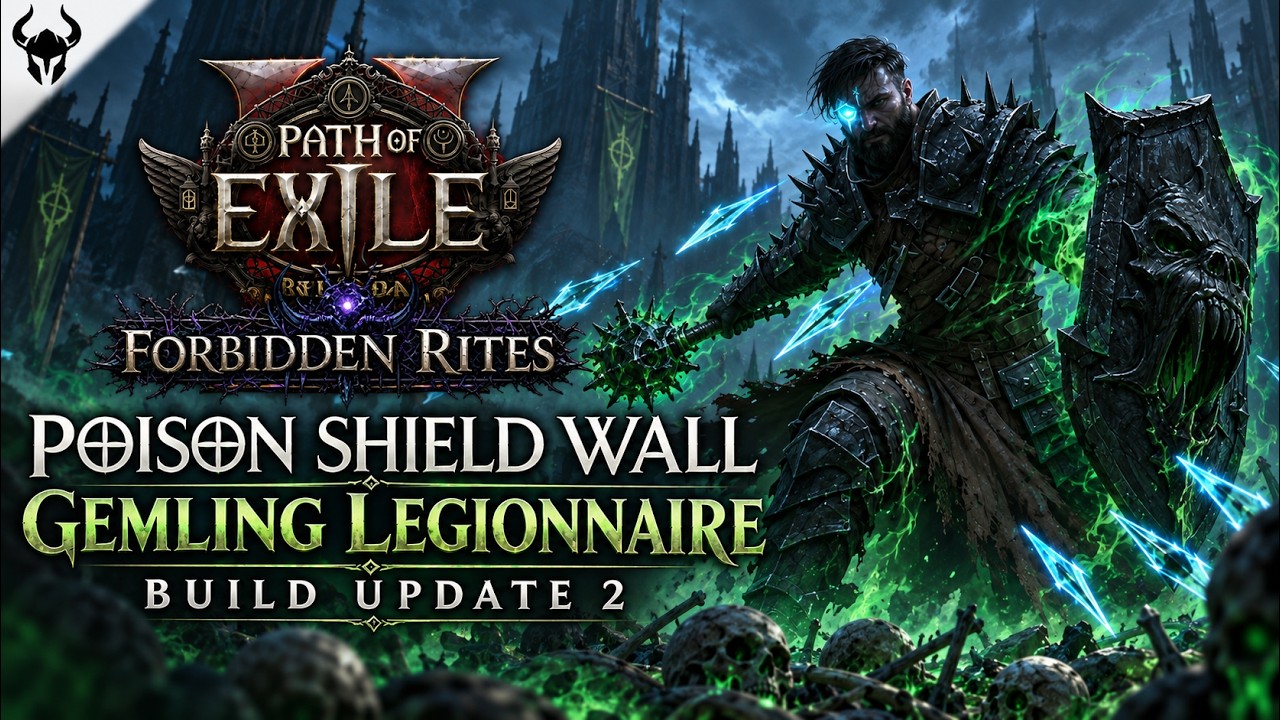
This is the 0.5.5 update of a poison-focused Shield Wall Gemling Legionnaire. The whole plan is to stack three or more poisons on a target as fast as possible, then let Shield Wall slams and Herald explosions finish the job. Resonating Shield is the button pressed while moving through a map: it builds rage for Berserk, breaks armour, and spreads poison, while Herald of Blood and Herald of Plague chain detonations across packs.
The twist in this version is the Ice Fang Orbit ring. It lets hits against poisoned enemies contribute to chill magnitude, so a build that only invests in physical and poison damage still chills, freezes and shatters monsters for free. That also turns on “damage against enemies affected by elemental ailments” jewel mods, which the tree picks up through Exploit.
Defensively the build leans on heavy armour (around 24k while standing still, most of it applying to elemental damage), roughly 48% deflection from evasion, about 33% block from the shield and around 300 life regeneration per second. The creator describes it as one of the most consistent Shield Wall setups: it runs 200% Delirium and the rest of the endgame at a relatively affordable price. It is forgiving to play but will still die to true one-shots.
Pros & Cons
Pros
- Face-tanks most endgame content thanks to armour conversion, deflection, block and strong regeneration
- Poison plus Ice Fang Orbit gives free chill/freeze and shatter clear on top of the slam damage
- Relatively cheap gear with basic runes and no Mageblood required
- No stun issues thanks to stun-threshold nodes scaled from helmet armour
- Also played from league start by the creator
Cons
- Not immune to genuine one-shot mechanics
- A weapon-swap passive set is needed to squeeze out war cry and damage value, which adds setup work
- The best upgrades (six-link body, Mageblood, better shield) get expensive fast
- Relies on a crafted one-handed mace with plus melee skill levels for most of its damage
Key Skills
- Shield Wall — main slam and burst damage source; runs heavy poison and bleed supports plus Bloodletting to remove its mana cost
- Resonating Shield — movement and clear button that stacks rage and breaks armour
- Herald of Blood + Herald of Plague — chaining poison/bleed explosions that do most of the pack clear
- Infernal Cry / Fortifying Cry — war cries that empower the next Shield Wall hits
- Berserk + Wind Dancer — extra damage from stacked rage and extra evasion while moving
Gear & Anointments
- Weapon: a crafted one-handed mace with plus levels to melee skills, “gain % of damage as extra physical” and increased poison magnitude runes/cores
- Ring: Ice Fang Orbit is the item the build is designed around (poison contributes to chill, plus extra poison chance)
- Body armour: Morior Invictus rolled for life regeneration, global armour and spirit
- Amulet: anointed with Leeching Toxins for poison magnitude and regeneration
- Shield: a high-armour shield; more armour is a direct damage upgrade because Shield Wall scales from it
- Boots: armour also applies to elemental damage is an important roll
- Jewels: poison magnitude, armour break, and damage against ailing enemies (Exploit and Hidden Barb areas of the tree)
Suggested upgrades from the creator: a six-link body armour, a triple-socketed mace, a bigger shield, and eventually a Mageblood rolled for resistances so tree points can move into life.
Endgame Notes
The creator uses a locked weapon-swap passive set: set one takes damage nodes like Lasting Trauma and Crushing Verdict, set two takes war cry nodes such as Cacophony and Roaring Cries so cries hit harder on the next Shield Wall. The tree also takes attack speed nodes toward level 95. Mapping is shown at max juice and 200% Delirium.
Credits & Source
Build credited to JorgenPOE. See the source video for the full gameplay footage and voice commentary: POISON Shield Wall Gemling Build Guide - TANKY + ALL Endgame Content - POE 2 Gemling Build [0.5.5].