Strategy
This is the guide for the wall every new endgame character hits: the Fortress quest line pushes you toward tier 10 waystones and the Arbiter of Ash long before most builds are ready, and the game gives you very little signal about what to go do instead. Deucehammer’s answer is that hitting that wall is normal, and the correct response is to leave the Fortress, unlock a farming mechanic, scale your character there, and come back.
The guide is recorded on a hardcore solo self-found league starter, deliberately — SSF is the most restrictive version of the progression, so the pathing works in trade as well, just faster. The core loop it teaches is waystone tier scaling: powerful map bosses drop a waystone one tier above the map they are in, and Doryani’s vendor stock refreshes at one tier below your highest completed waystone. Chaining those two facts is the entire mechanism for climbing from tier 1 to tier 10.
Mechanic choice matters more than most new players realise. Abyss is the recommendation for a first mechanic — simple to run, strong in both trade and SSF, and with Ulaman selected for balance of power it hands out currency chests at the end of each pit.
Atlas Tree & Setup
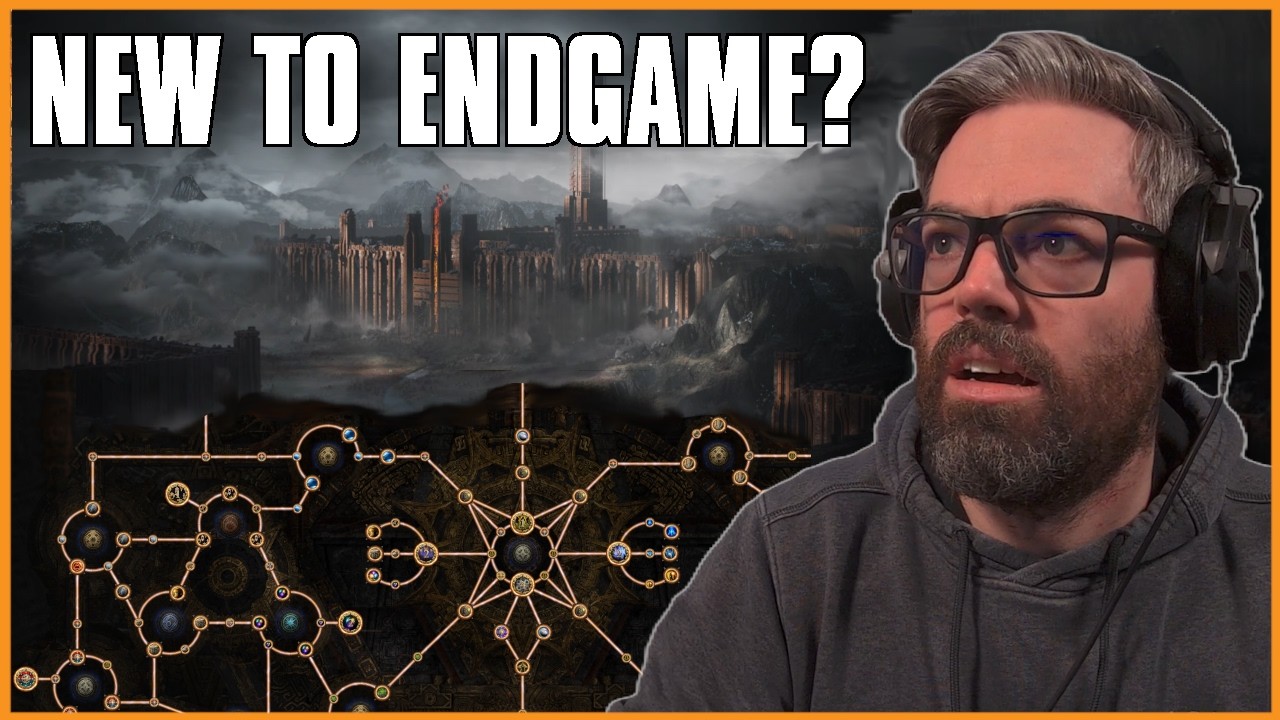
Early Fortress pathing starts with shrines, for both the temporary power spikes and the rarity boost. Continue through the increased pack size and increased magic monster nodes for experience gain, and pick up Eons of Contamination for irradiated precursor tablets — those add rarity and strongbox chance without adding map difficulty the way waystone modifiers do, though the +1 monster level effectively runs you one tier higher.
After the shrine cluster, take essences (essential for early endgame crafting, and unavoidable in SSF), then path into the centre for the waystone and tablet sustain nodes.
For the Abyss tree, go straight up the middle first, then out to the side for additional pits, then finish the middle. Leave rogue exiles for last. For expedition, path north to Double or Nothing — the combined difficulty and juice lever — then Cultivating the Sea with Mountain, targeting Mountain Mastery for tablet quantity, then Calculated Investment option two for experience.
Masters unlock through their own quest areas: Doryani from the corrupted nexus, Jato from the deadly map boss area, Hilda from her campsite. Each gives up to four points, but only one master can be active at a time.
Investment & Returns
- Investment: low — this is progression, not a juiced farm; the only real cost is waystones you would be running anyway
- Returns: currency chests from Ulaman-spec abyssal pits are called out as one of the best simple currency sources in the game
- Scaling: the real return is character power — roughly 25 passive points between hitting maps at level 65 and level 90, which is often what actually unlocks a build
Step-by-step
- Path the early Fortress atlas: shrines, pack size and magic monsters, Eons of Contamination, then essences, then centre sustain nodes.
- Take the western gateway first — it unlocks the shrine area — but expect tier 5 waystones to be required.
- Scale waystones by saving each tier and spending it on a powerful map boss to gain the next tier up, while Doryani’s stock catches up behind you.
- When the Enigma Chamber’s tier 10 requirement blocks you, leave the Fortress rather than grinding at it.
- Unlock Abyss first and spec Ulaman for balance of power to get currency chests.
- Unlock Doryani and Jato as masters; save Hilda for later, since her benefits are weak in early endgame.
- If still stuck below tier 10, run Breach or Ritual. Skip Expedition until tier 11 — its quest line is gated there.
- Return to the Fortress once your build clears tier 10 comfortably, then finish toward the Burning Monolith.
Risks
- Abyss and Expedition quest lines scale to tier 11+, so you cannot finish them before the Fortress wall either — expect to bounce between mechanics
- Irradiated tablets add +1 monster level, which is a real difficulty increase disguised as free juice
- Waystone sustain is the actual bottleneck in SSF; losing a saved high-tier waystone to a death sets the whole loop back
- Following a build guide exactly will not carry you through this section — the guide is explicit that you need to understand power scaling yourself
Credits & Source
Method credited to deucehammer. See the source video: POE2 Atlas Guide: What To Do After The Campaign (0.5.5).